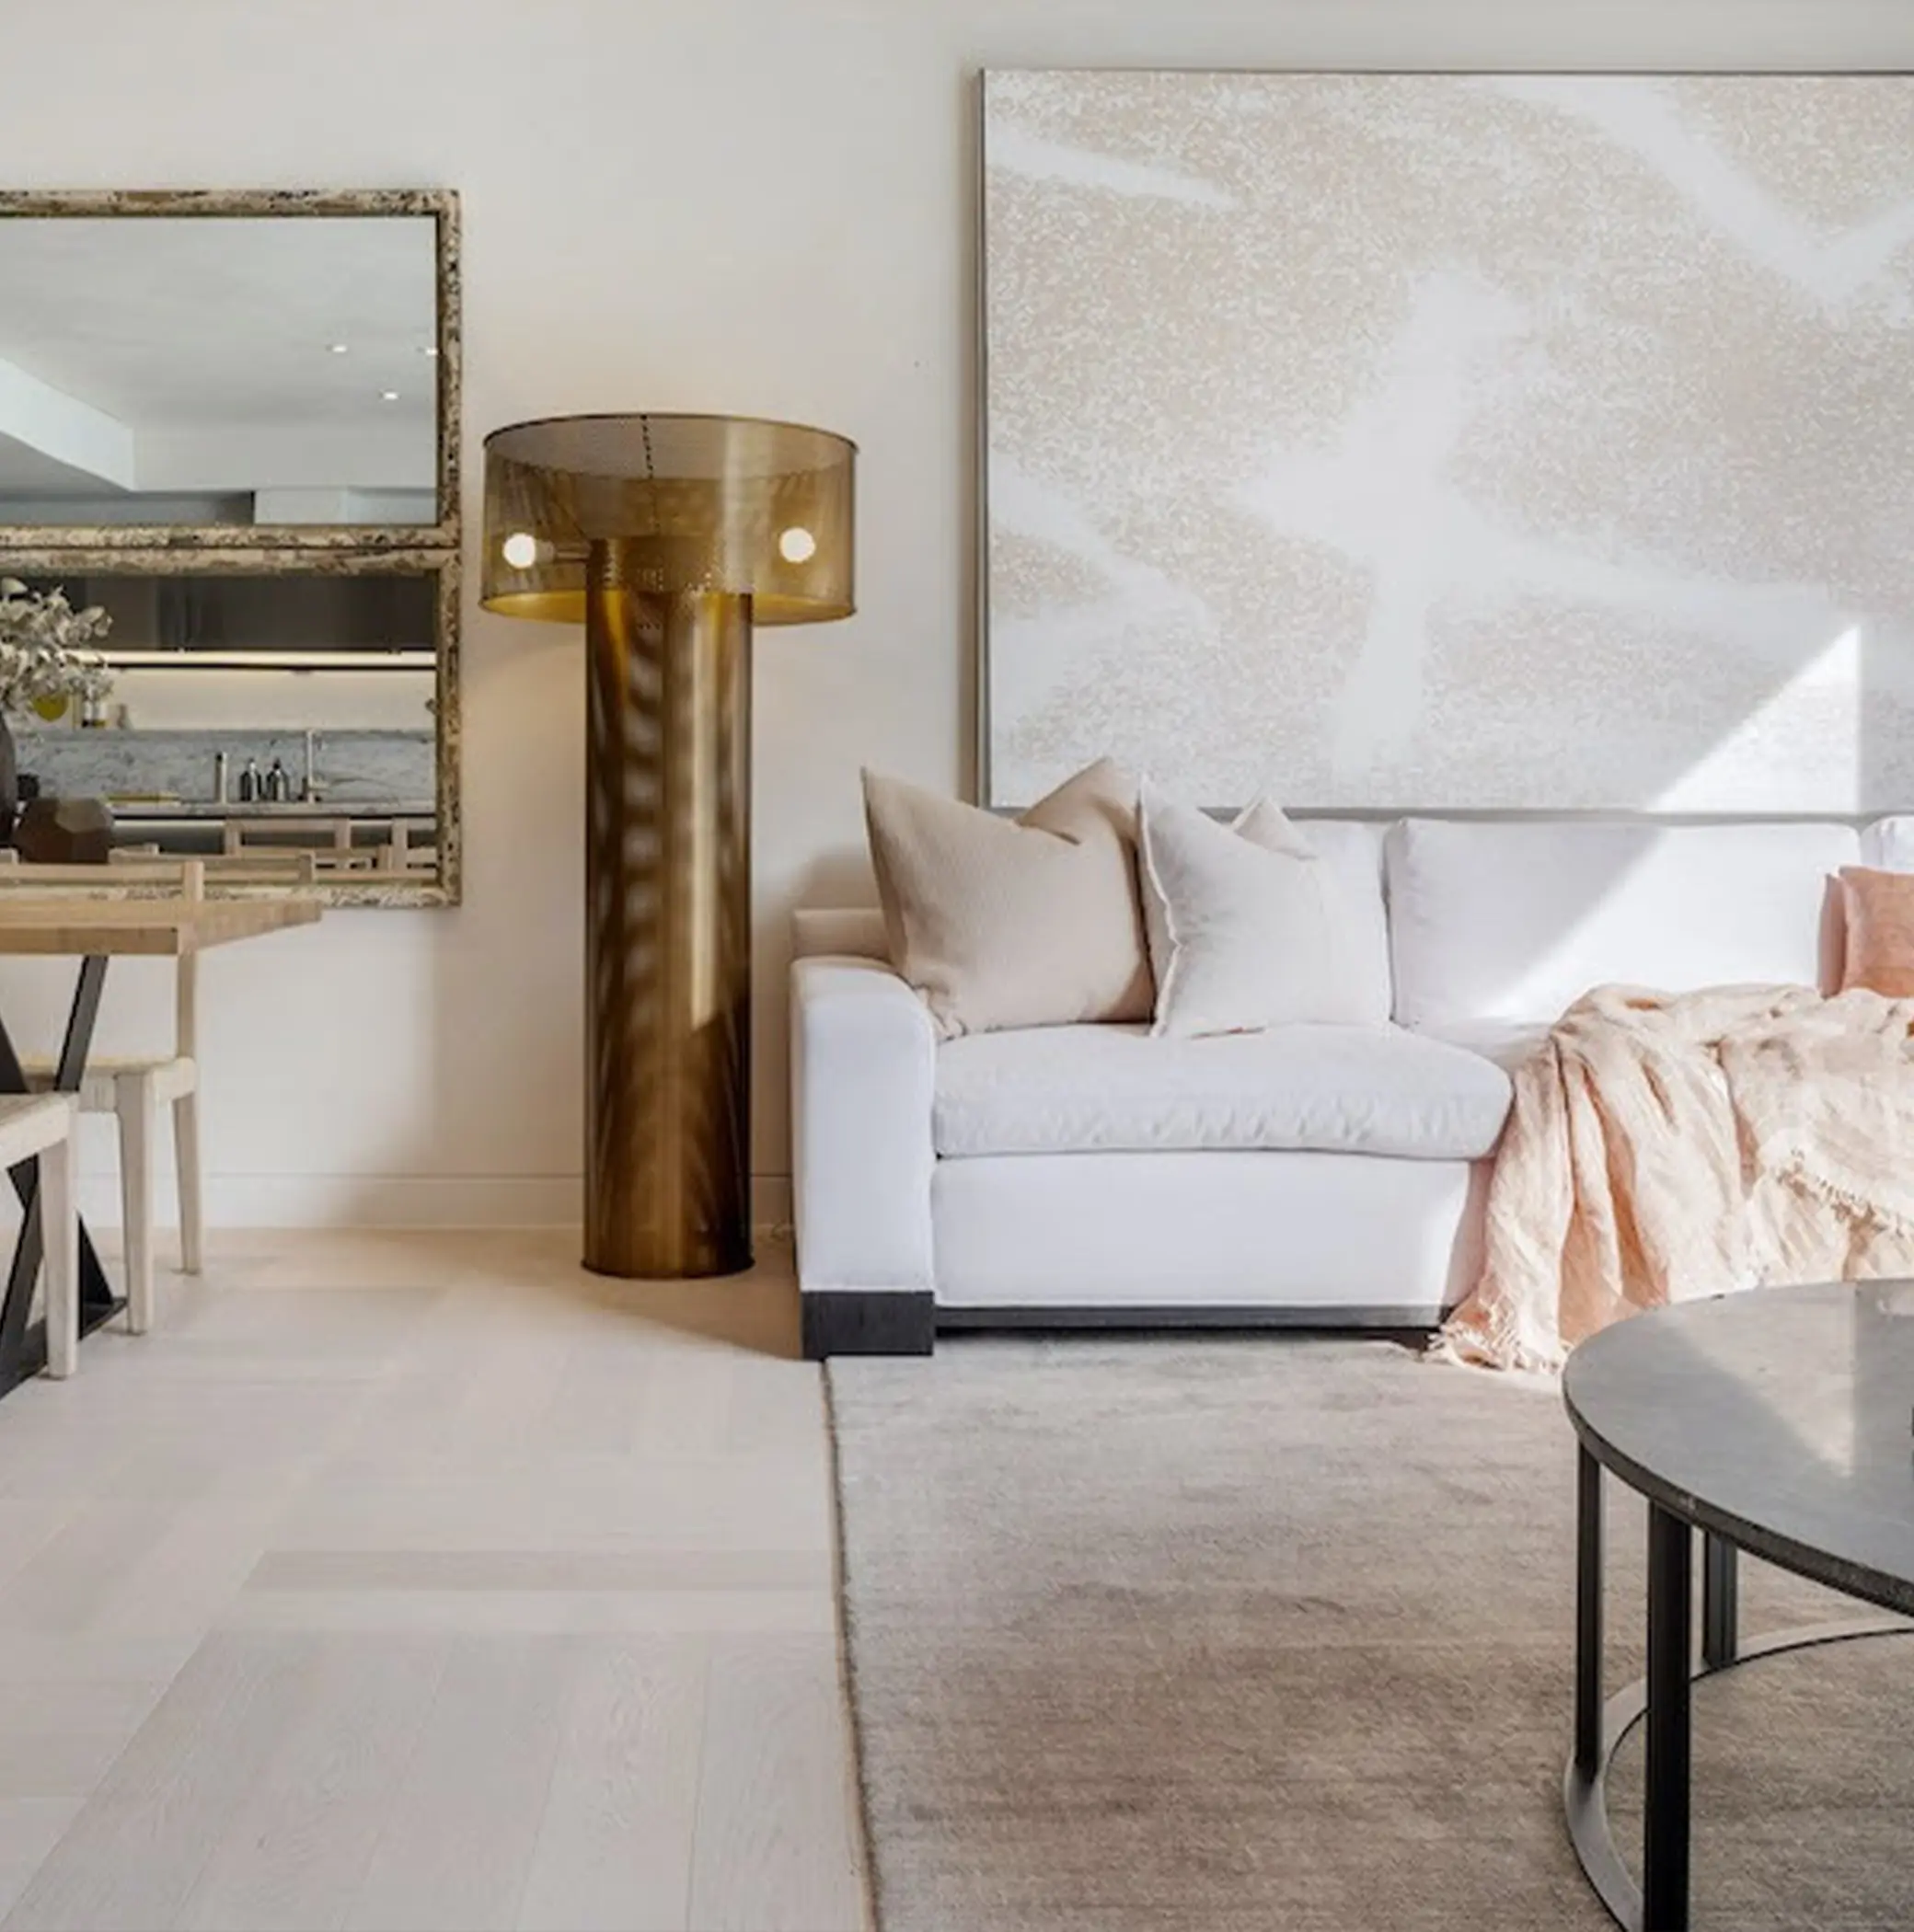
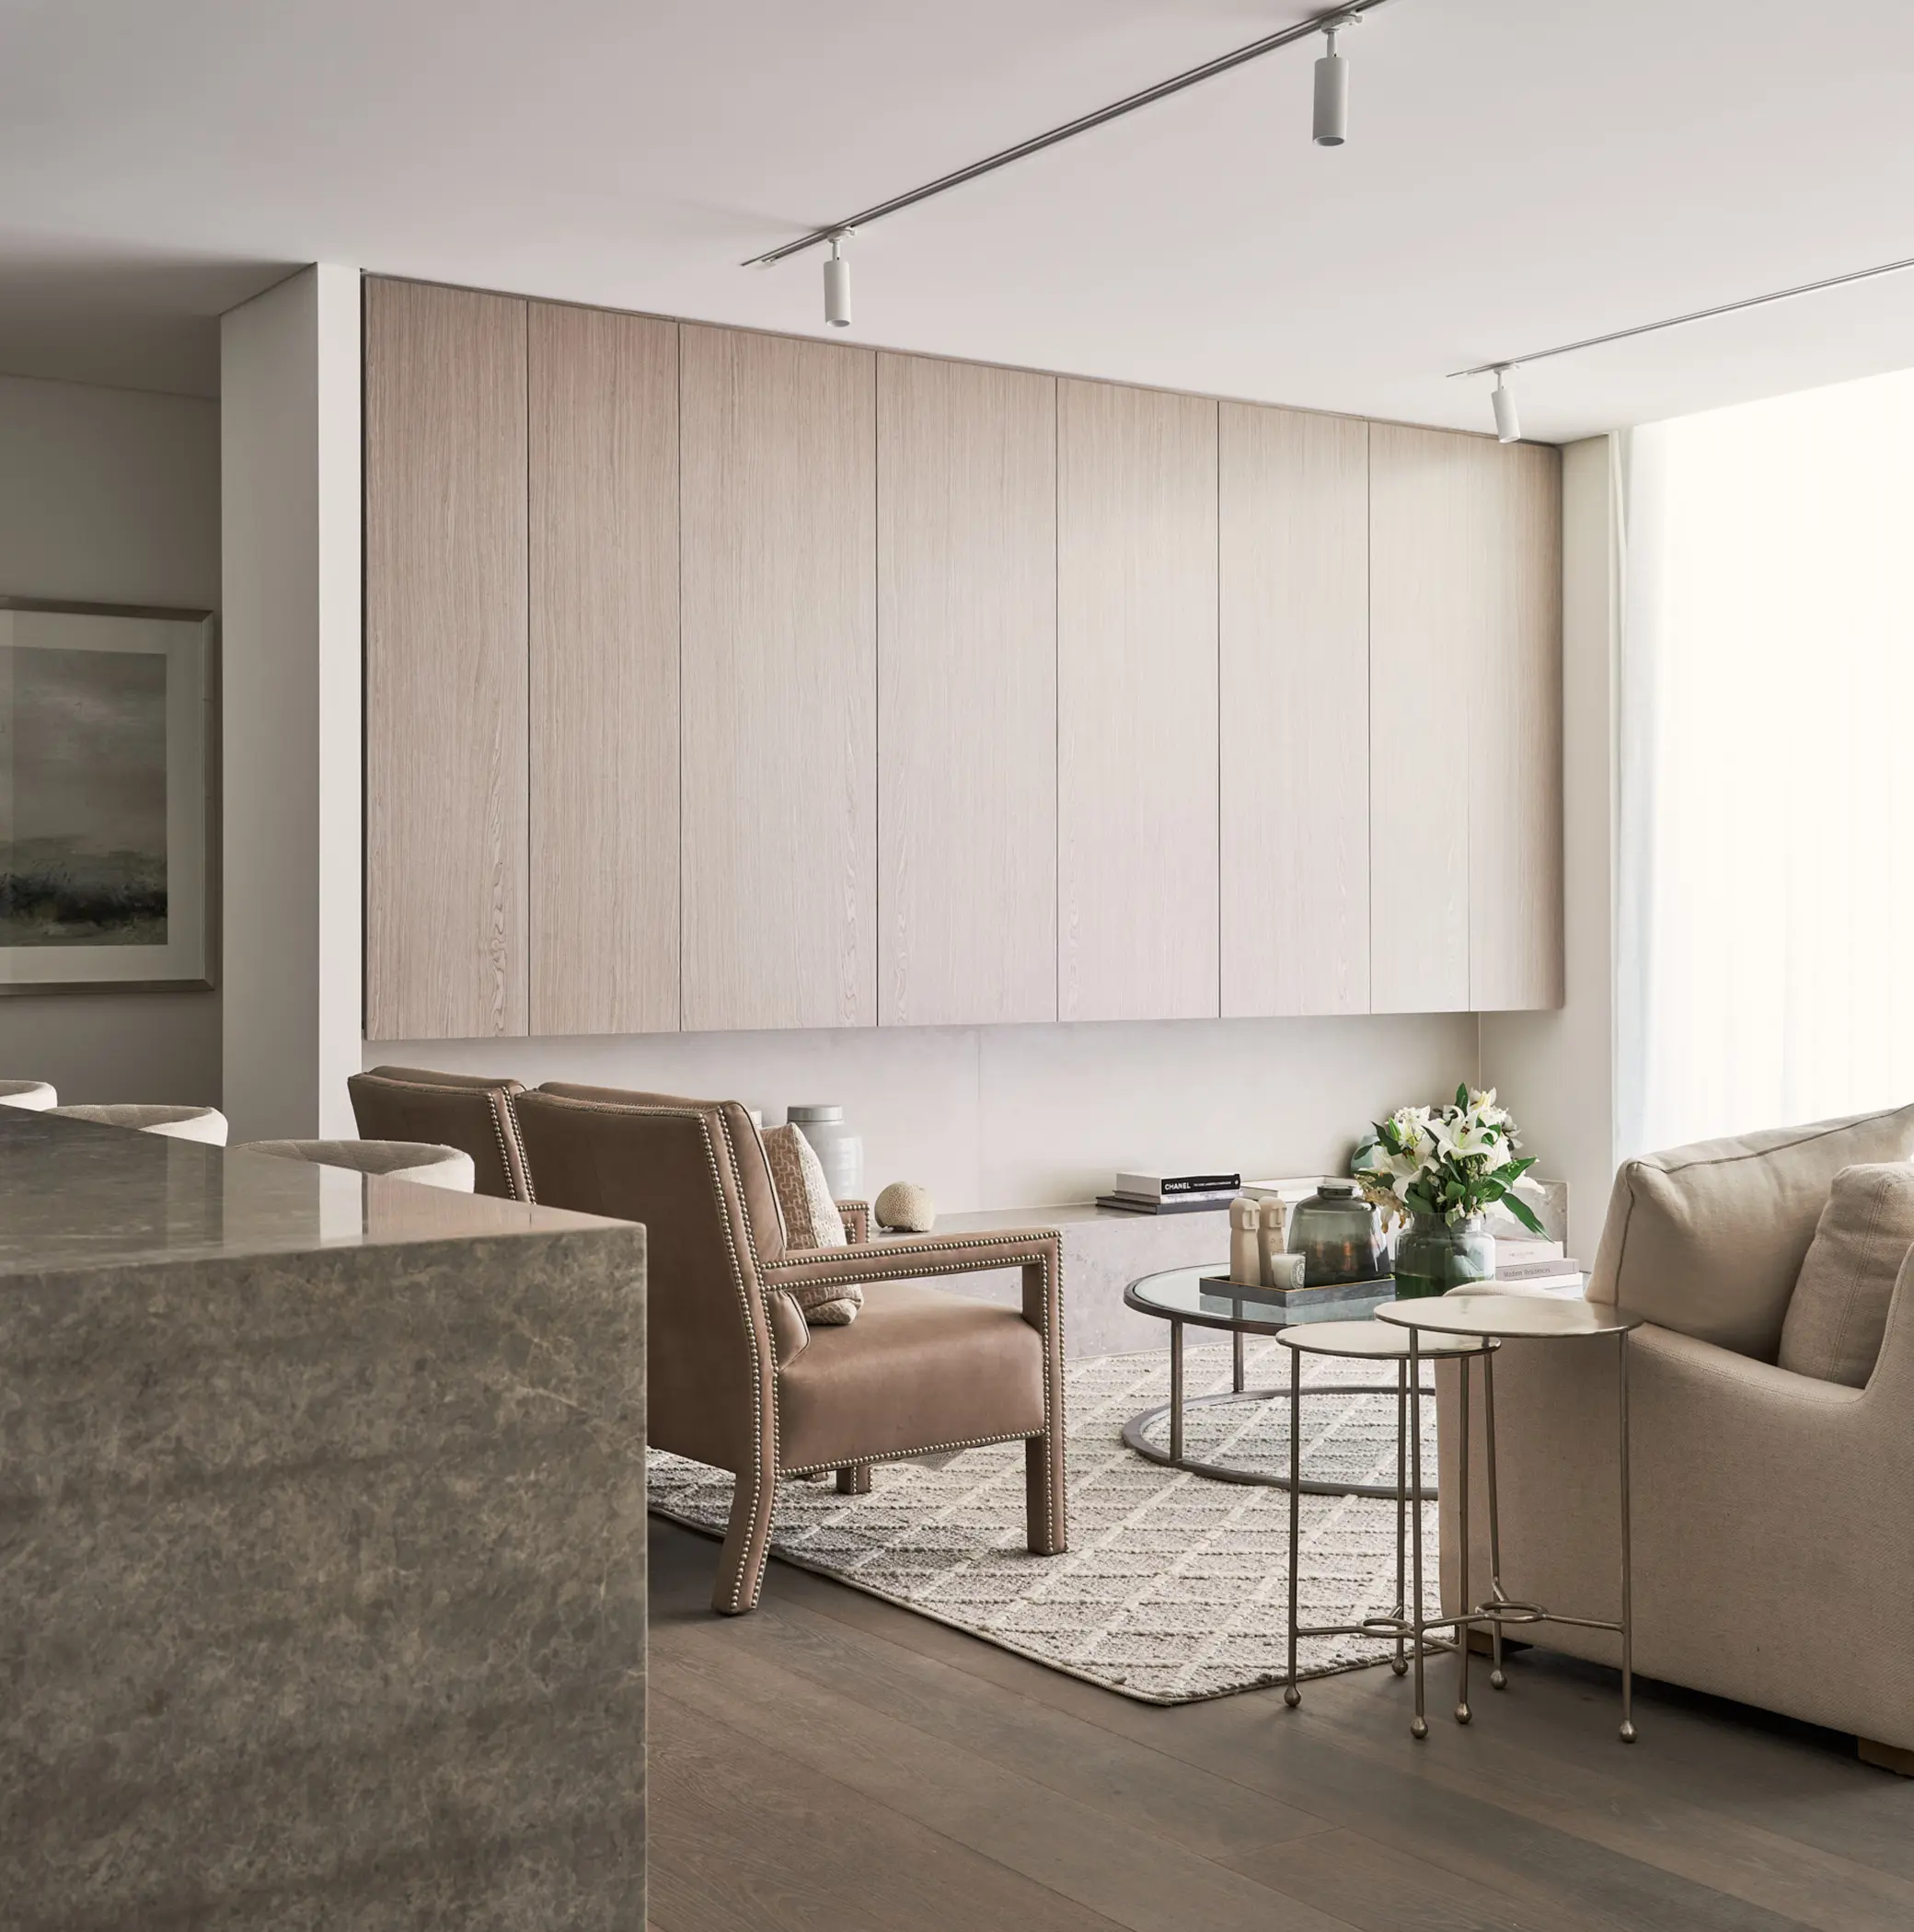
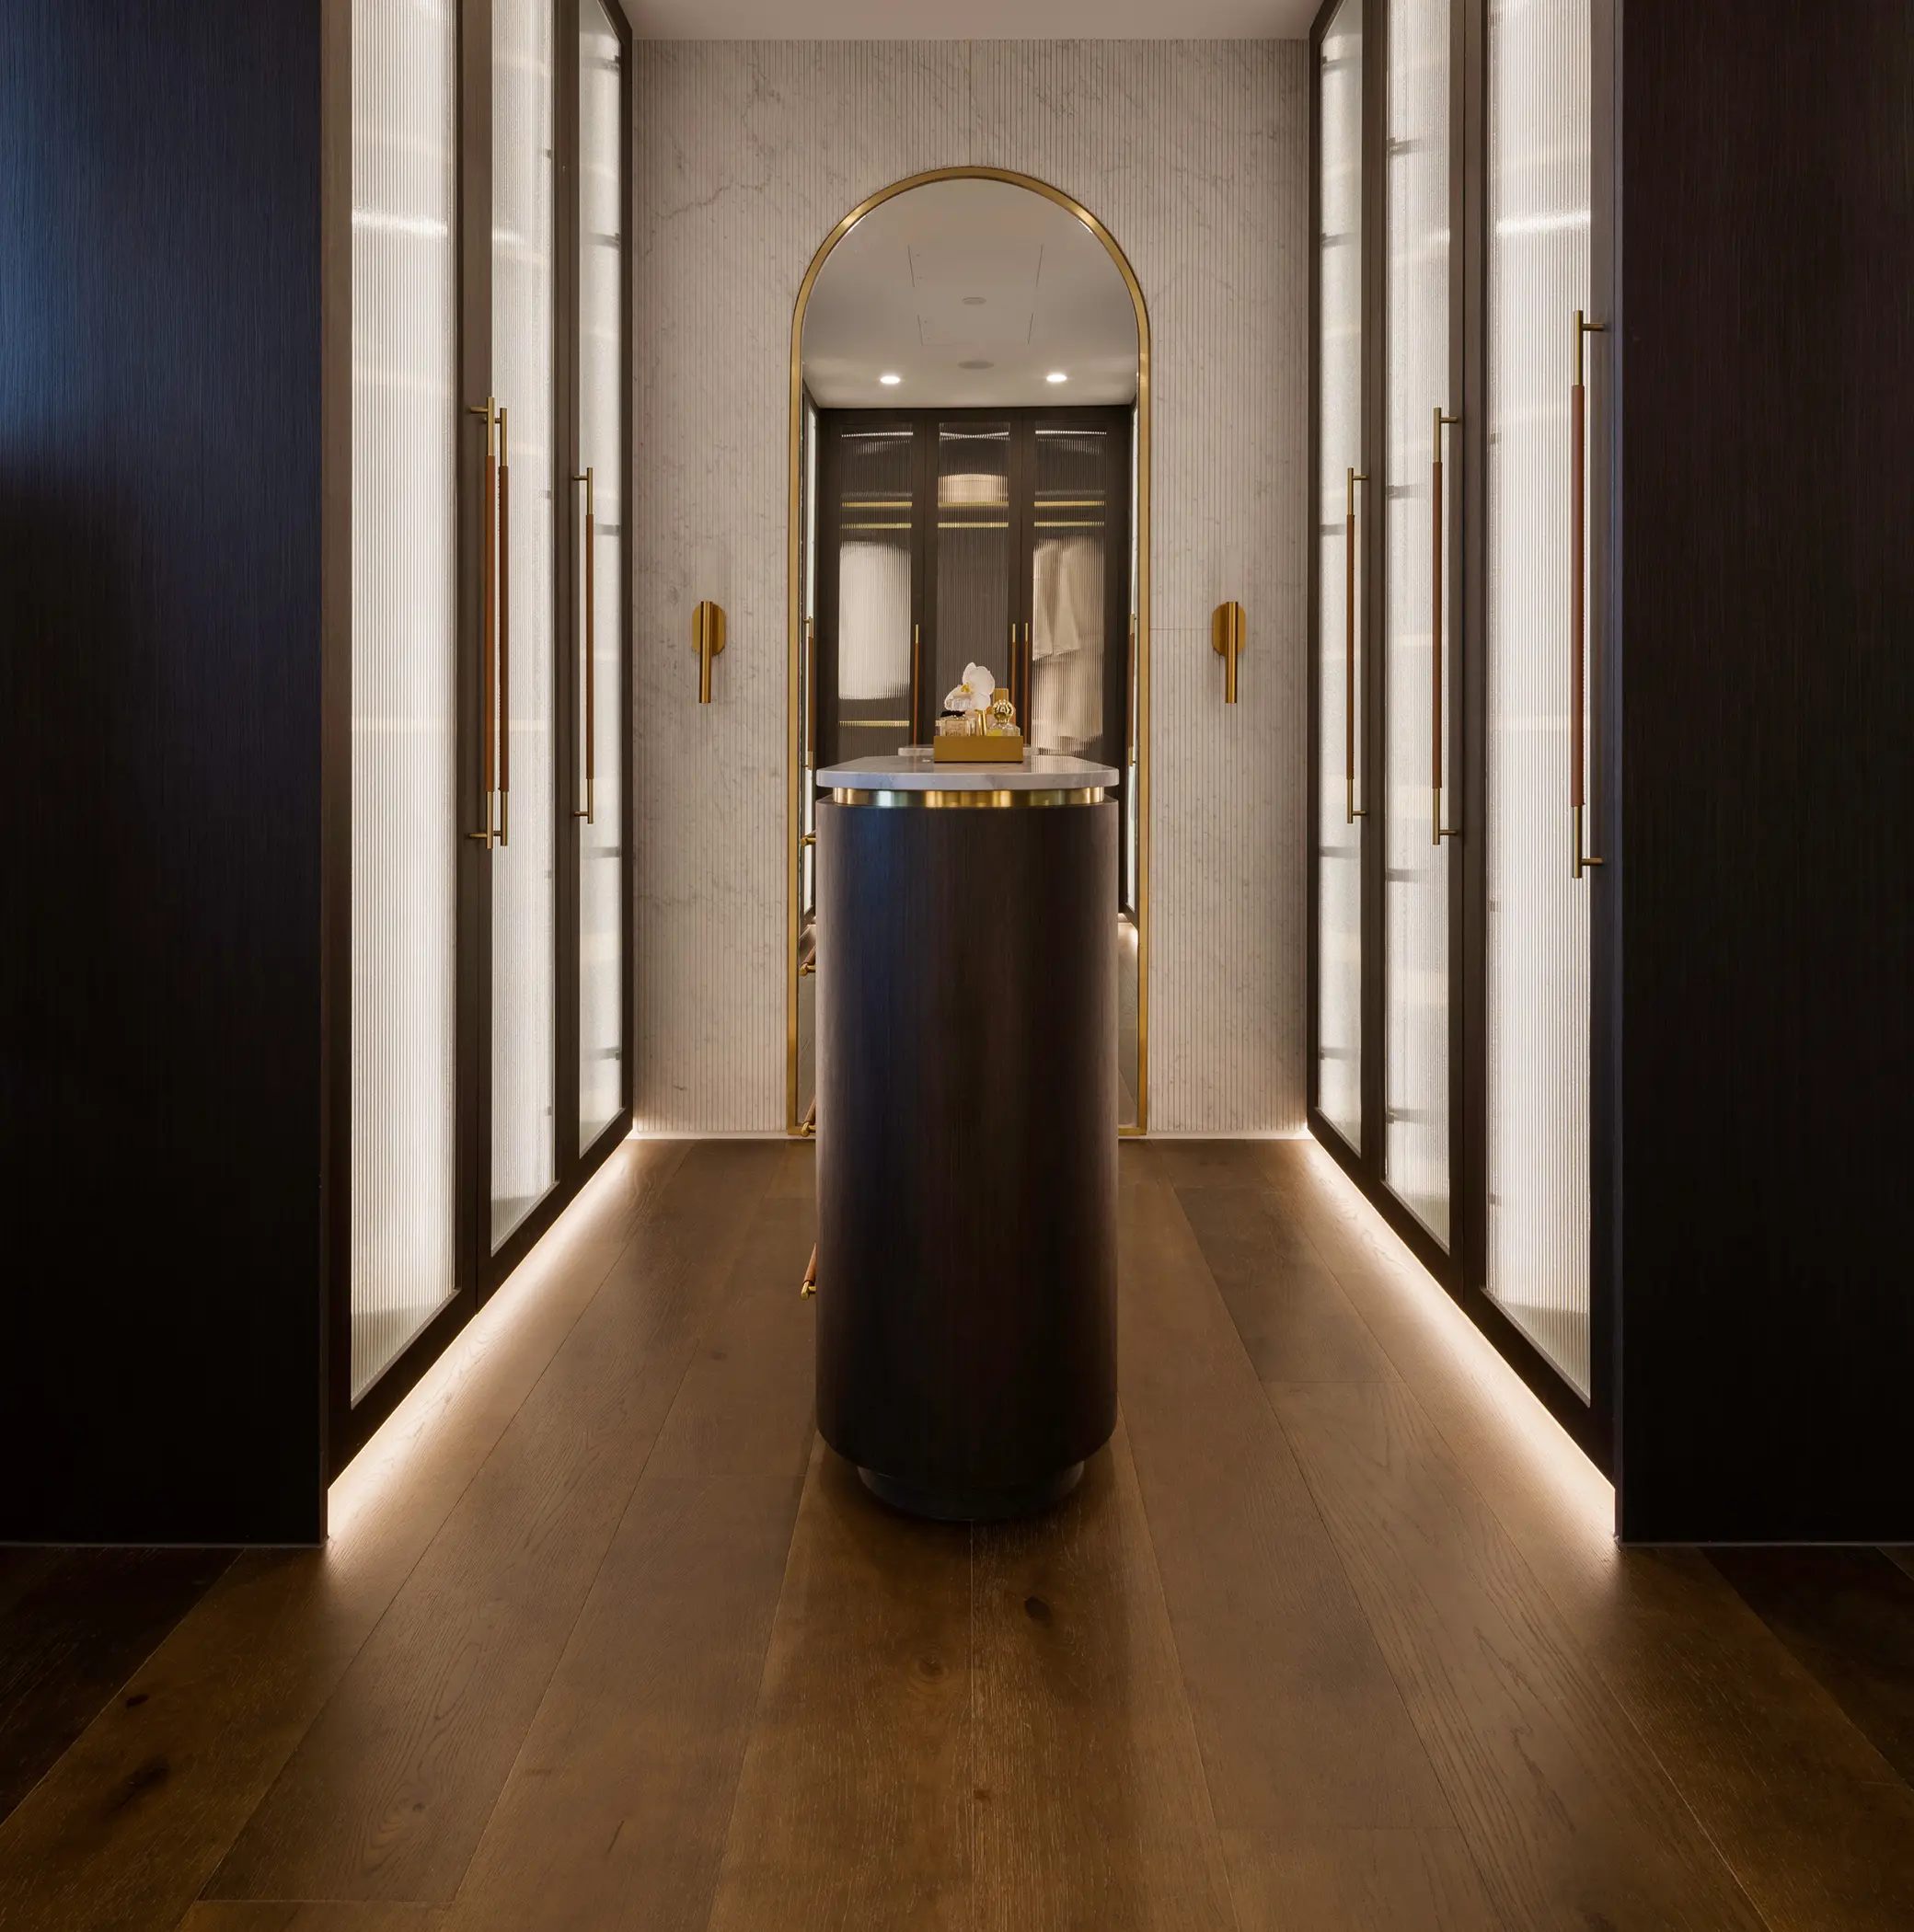
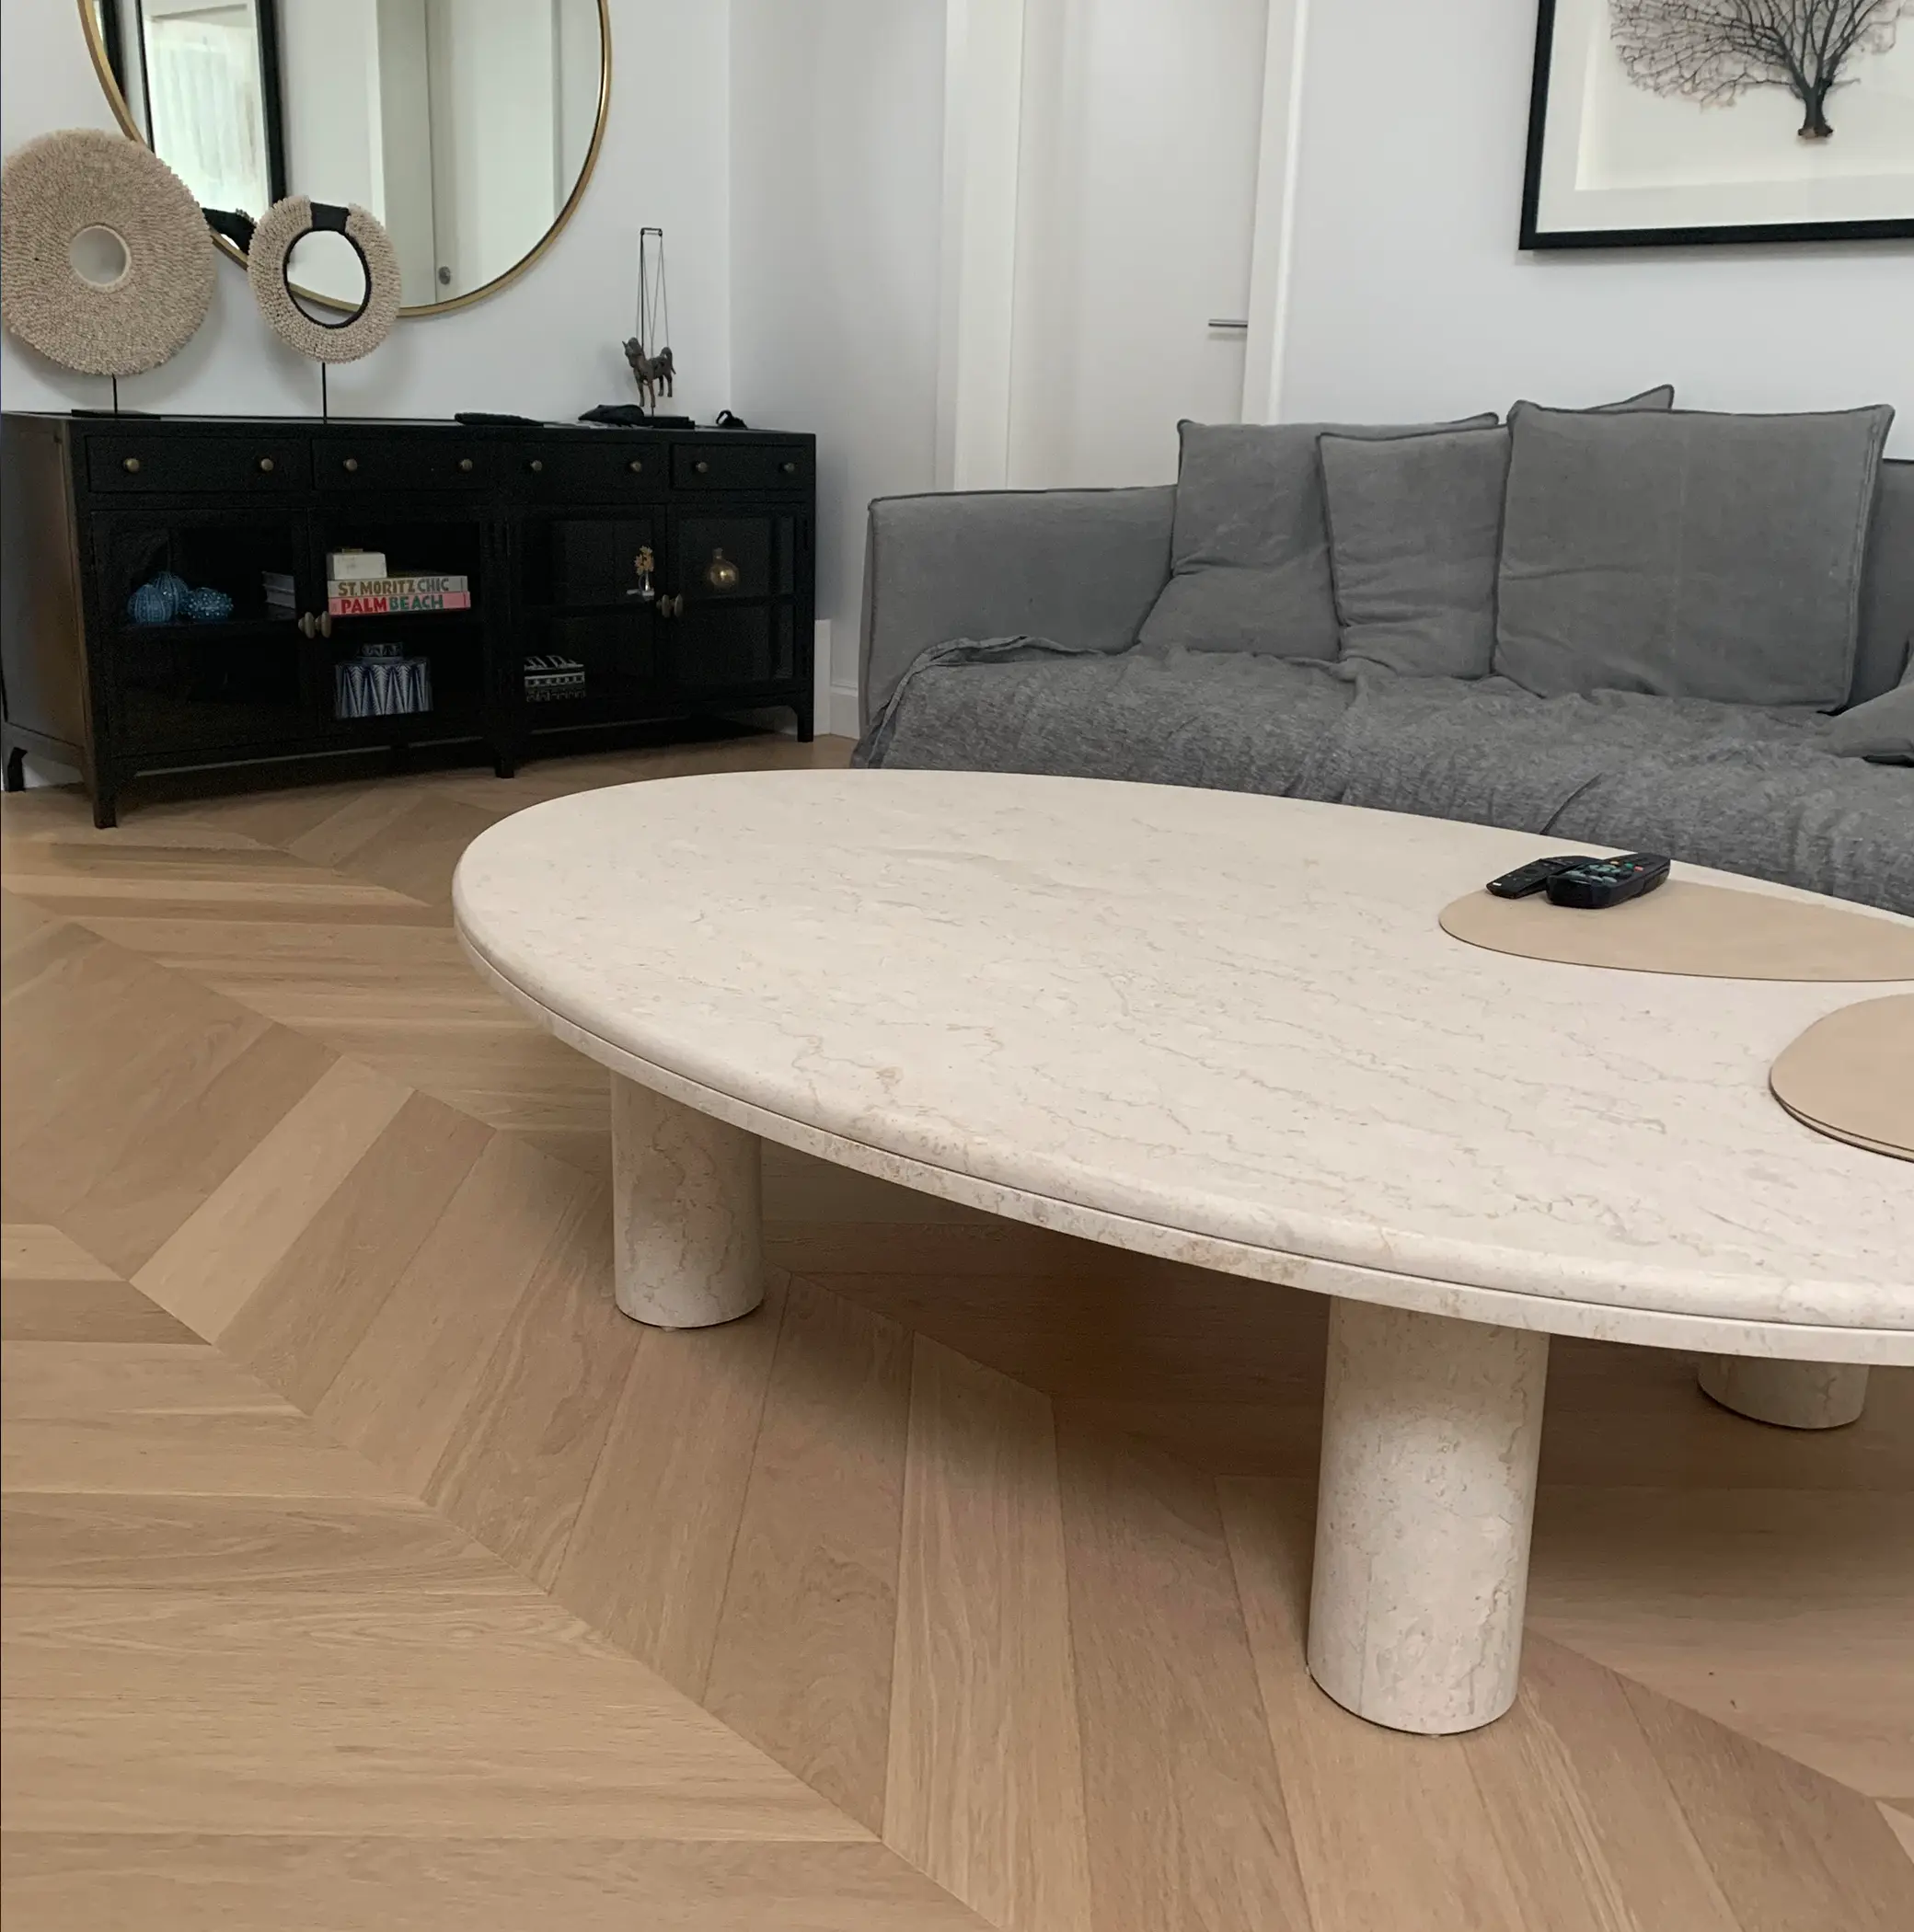
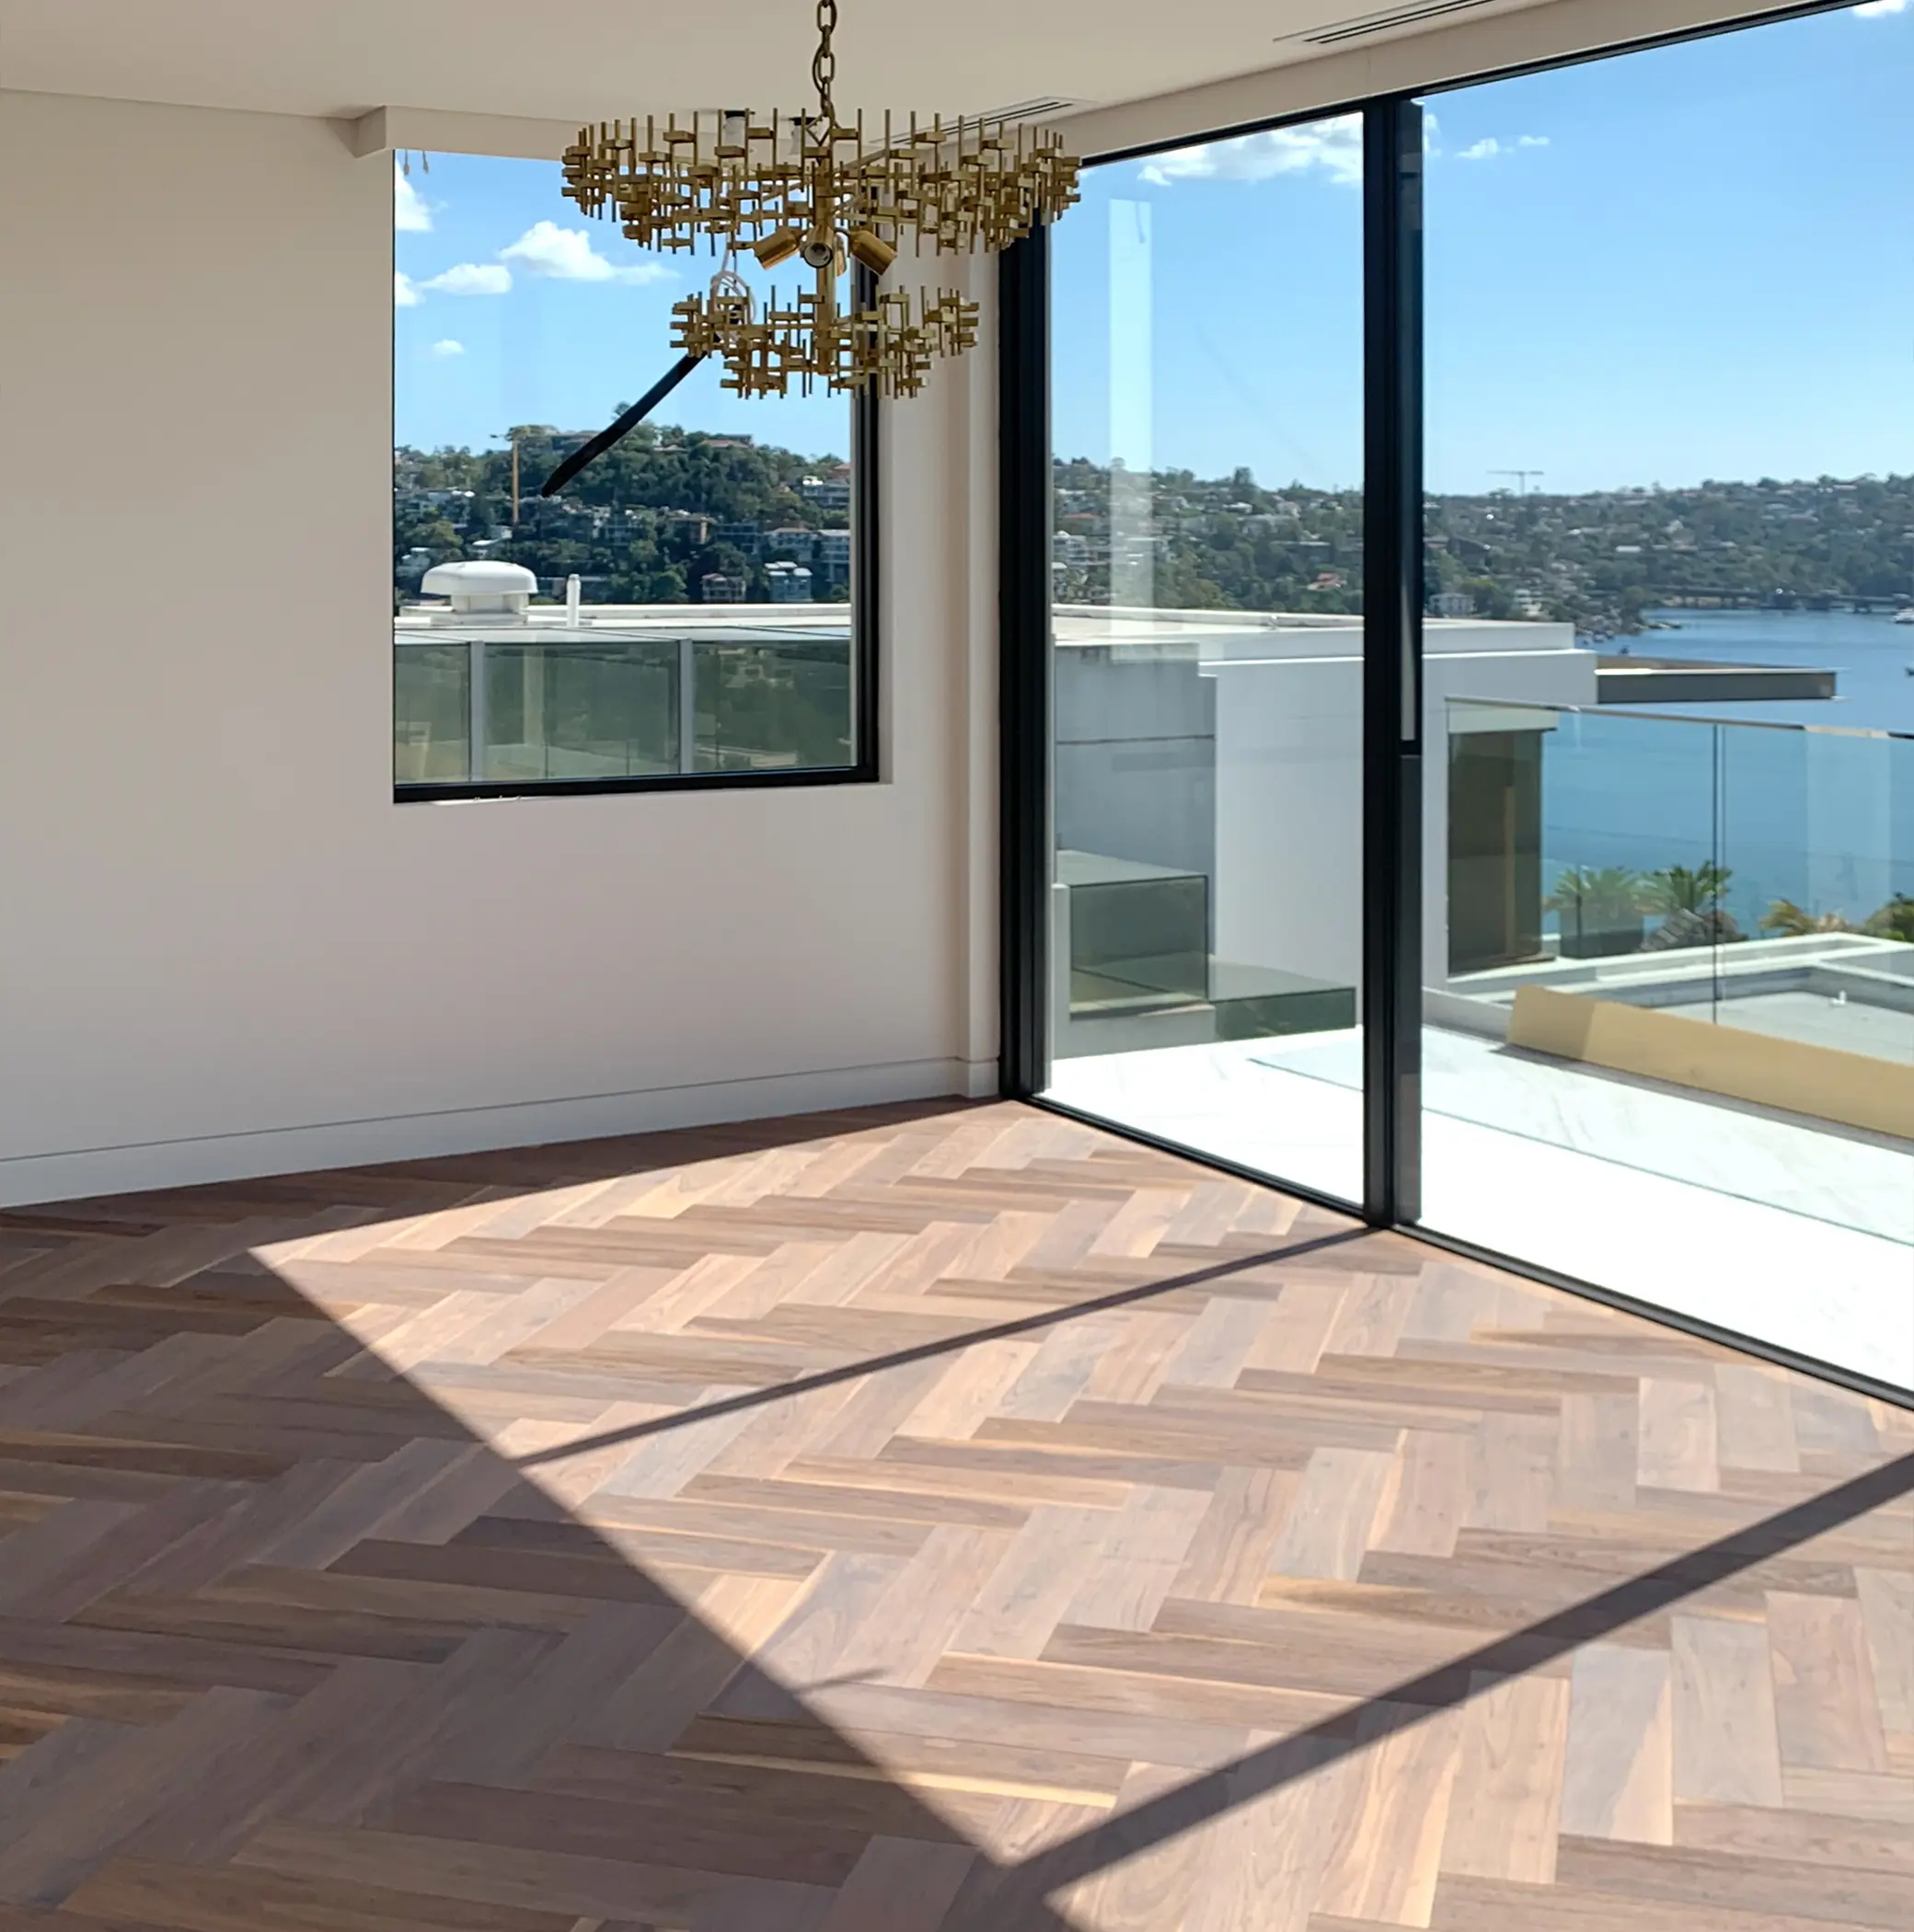
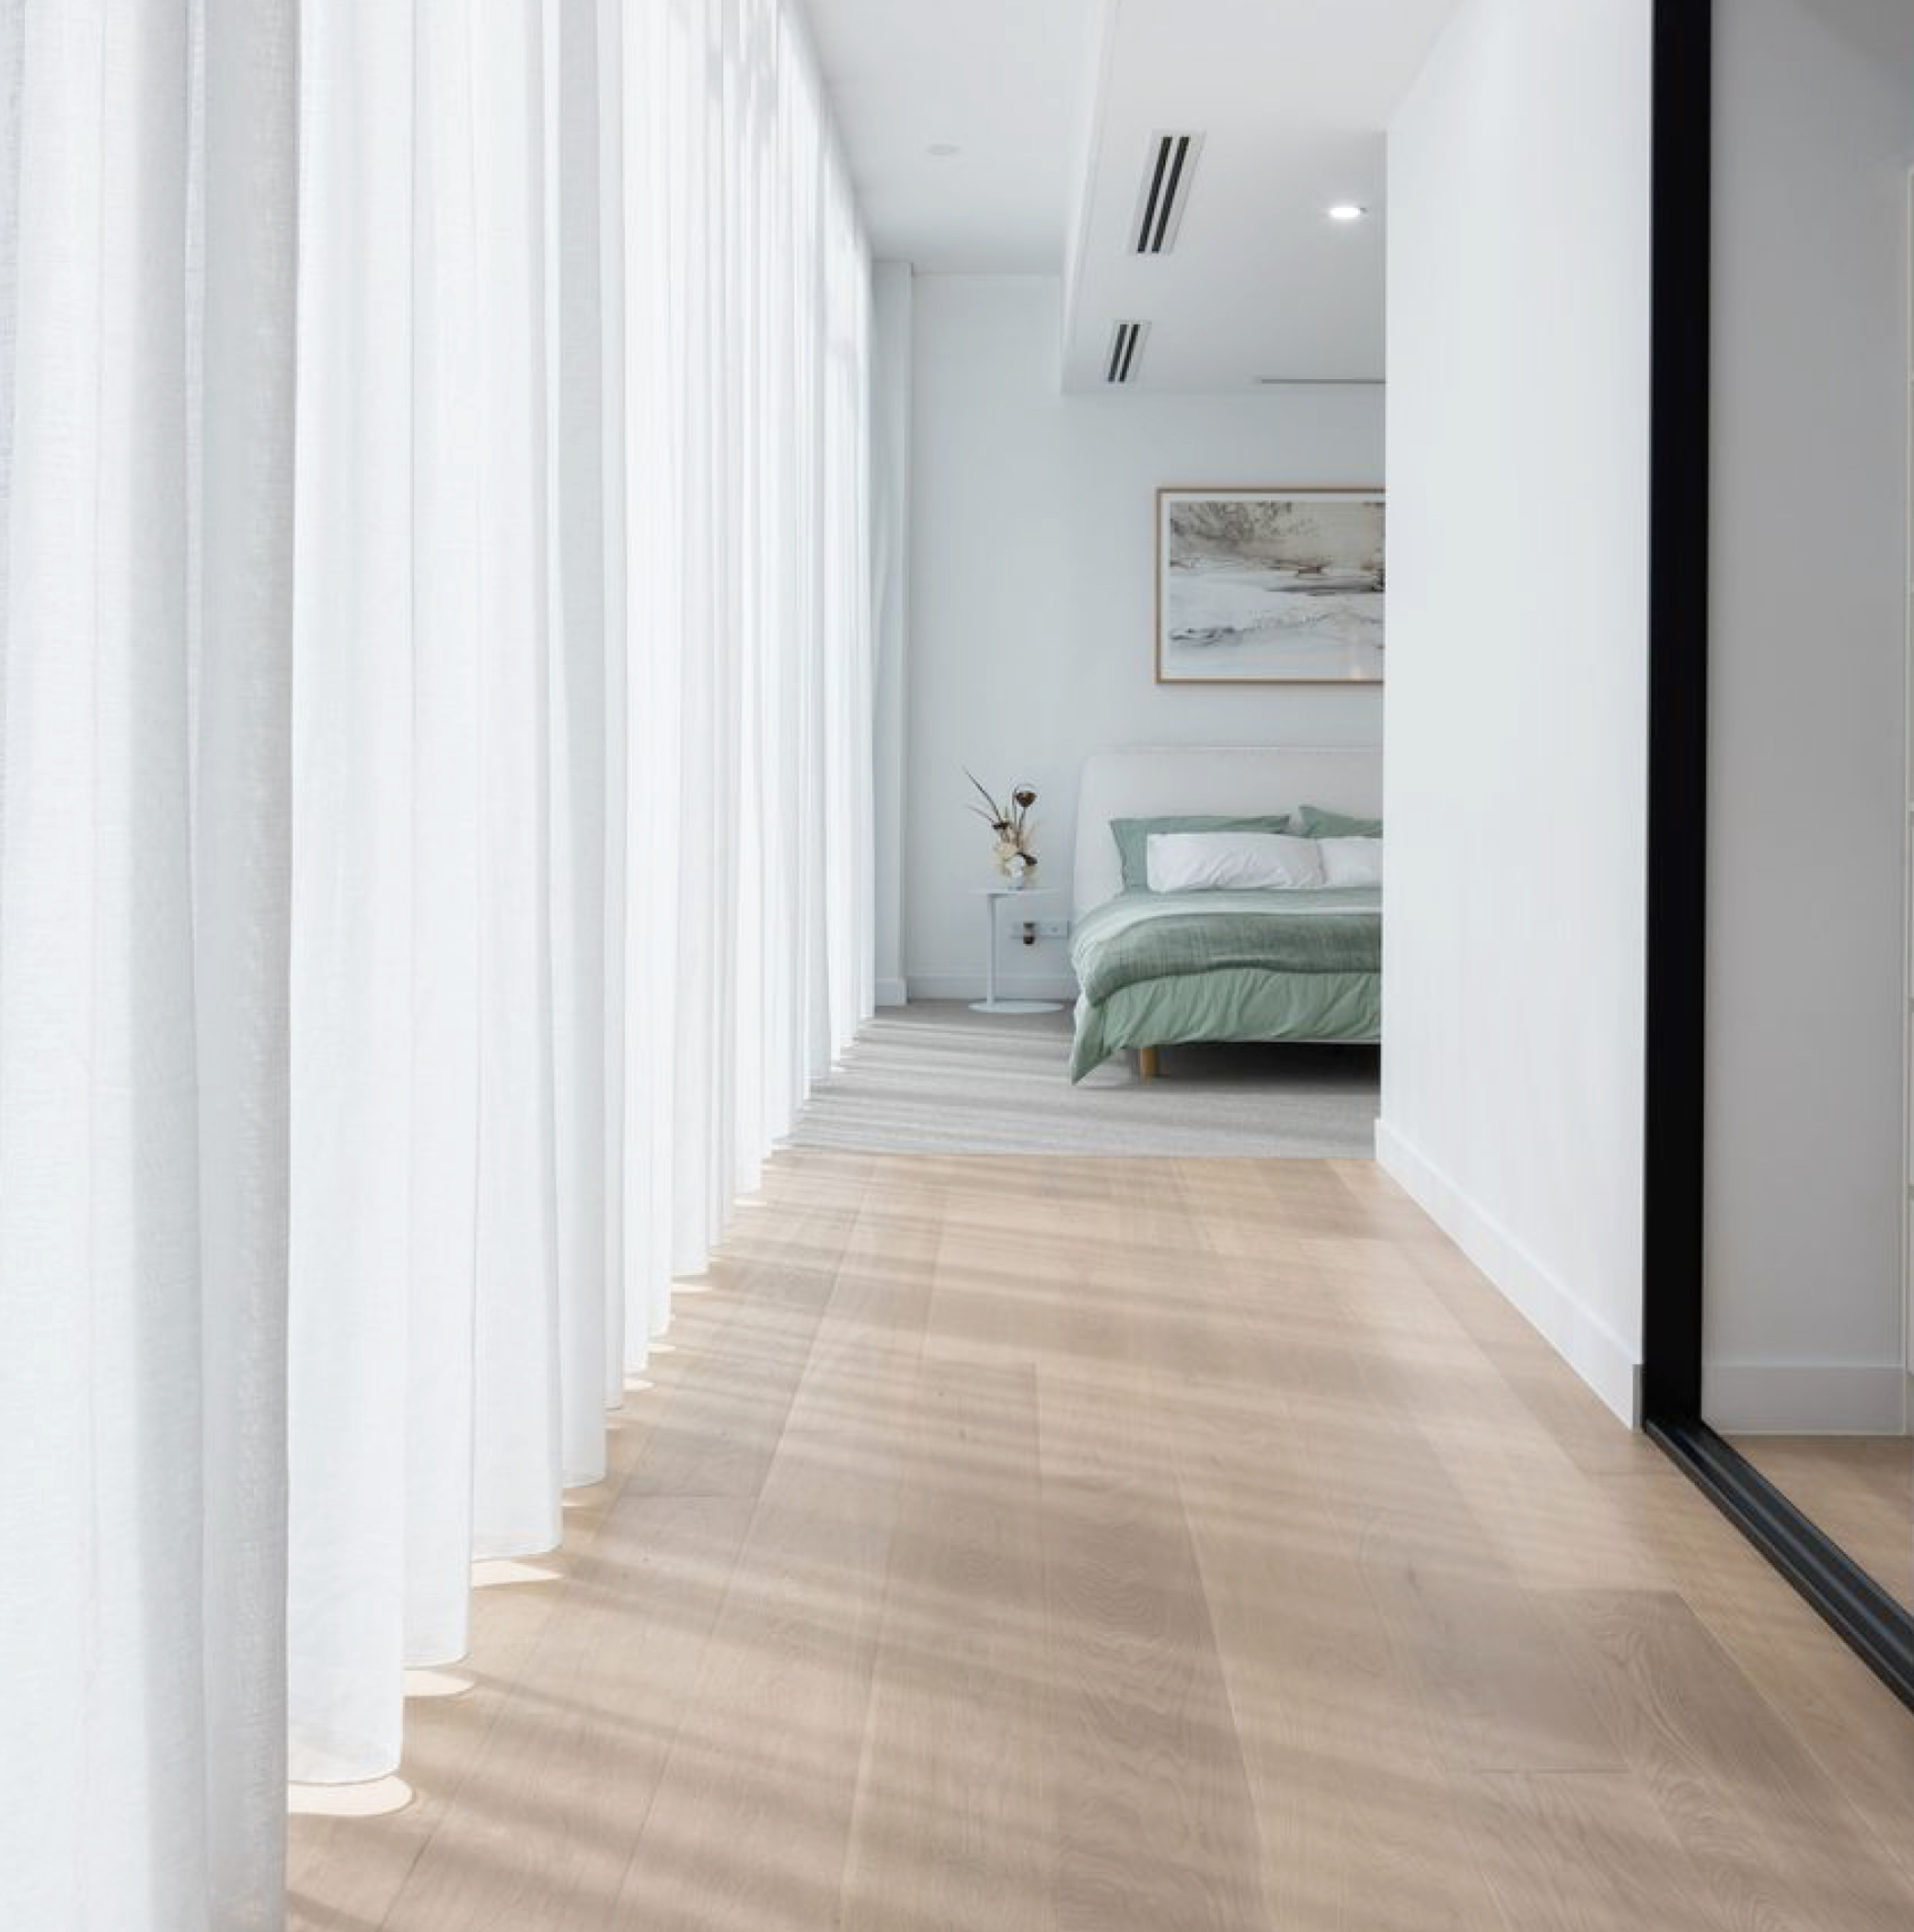
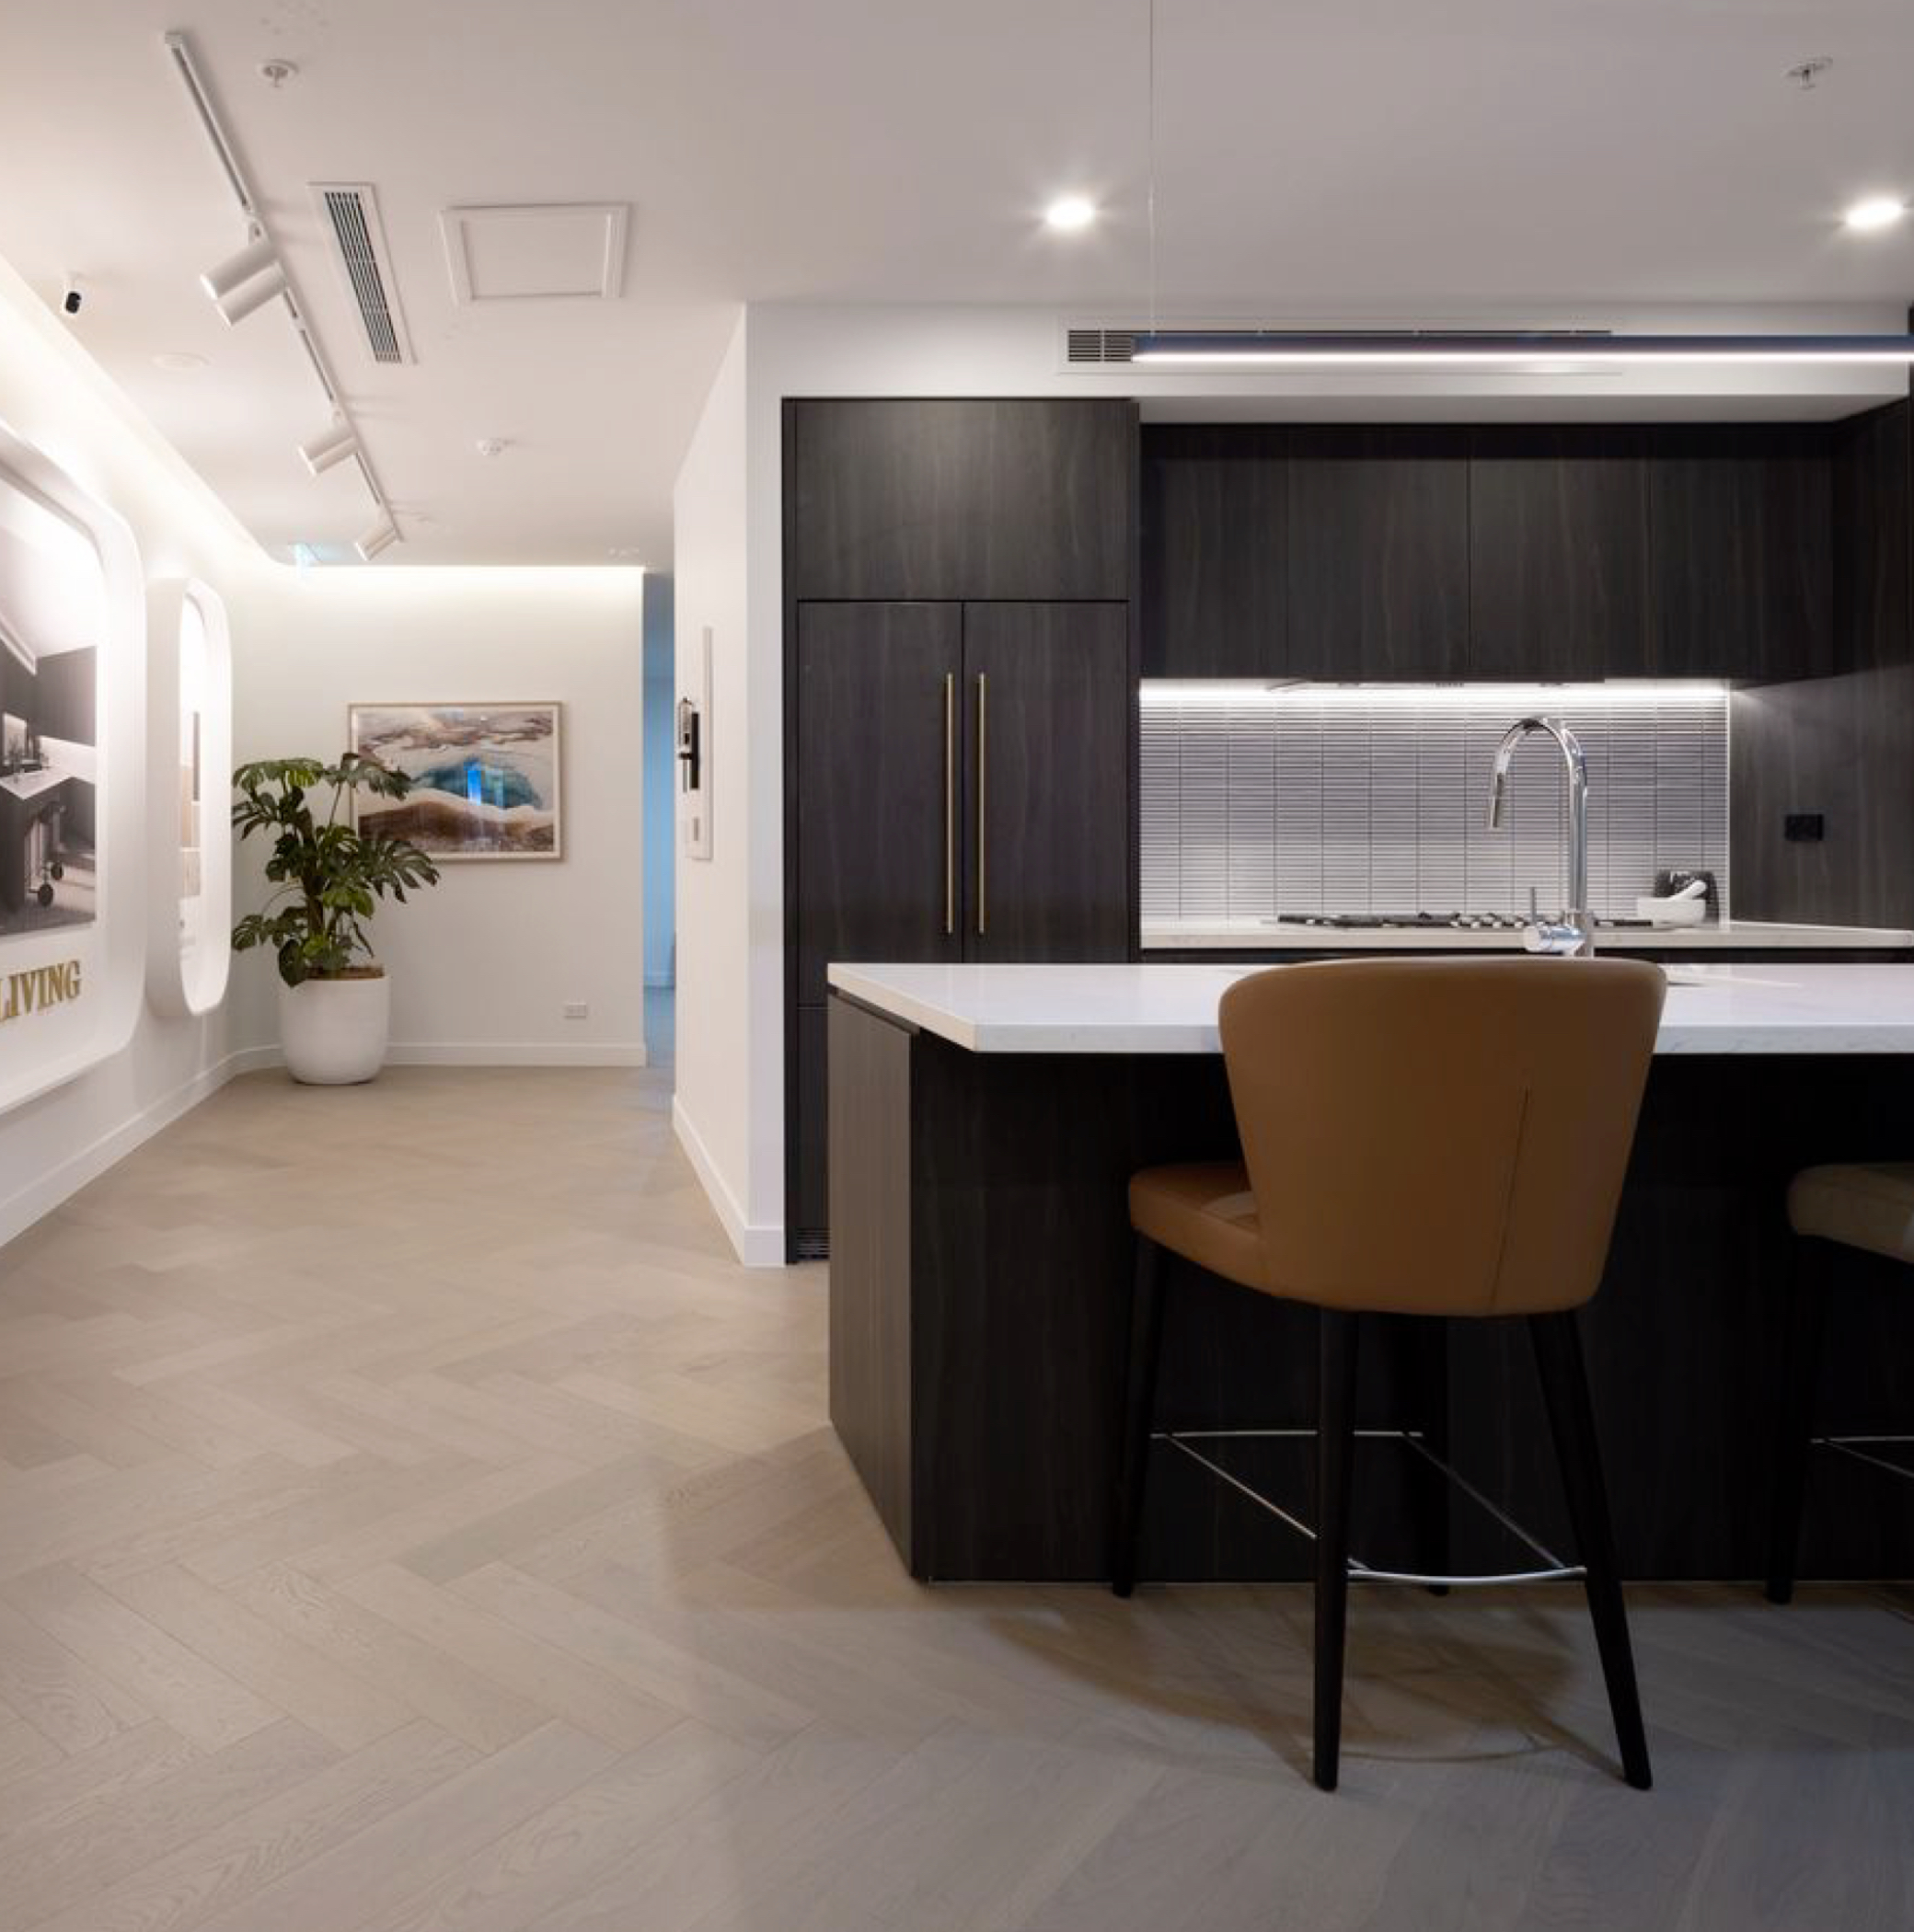
Hardwood floors are one of the greatest additions you can make to your home. Sure laminate and linoleum can be cheap alternatives to save you a buck on installation day, but in the long run hardwood will help your home stay beautiful without going out style and without costly renovations. Hardwoods have been used to cover floors since there have been floors to cover. No matter how the trends change, hardwood has proven to be beautiful, popular and a great way to protect the value of your home. For more information about the benefits of hardwood, check out this article on why you should choose hardwood flooring.
One of the greatest benefits of hardwood flooring is that you can refinish it multiple times. The benefit of refinishing your hardwood is that you get the look of brand new floors without have to do any removal or installation. Most hardwood floors can be refinished between 5 and 10 times before the integrity of the board is compromised, or so much surface material has been removed that you need to install new boards. In general, hardwood floors should be refinished about every 10 years but it depends on how much traffic they see and how often your furniture is moved. For a procedure on how to tell if your floors need to be refinished, check out this article how to tell if your hardwood floors need to be refinished.
Now let’s talk about how to refinish hardwood floors. In reality, it is as easy as sanding down your old floors and adding new polyurethane or stain to the exposed wood. However, we’ve learned a few tricks that can really help make the job much easier.
First, make sure you prep the area that will be refinished. The sanding process is loud and extremely dust and the stain or top coat you put on will have some pretty intense fumes. Because of all this, it’s a good idea to remove everything you can from the space, then seal off the area you will be refinishing. Start by removing all the furniture, window coverings, wall hangings and any doors that the wood floor passes through. Next cover any electrical sockets and attached lighting fixtures by taping plastic over them. Lastly, make sure you’ve got good ventilation through a window and seal any door opening to make sure the dust doesn’t get to the rest of your house.
Now you’re ready to sand! It can be tempting to try and use the small palm sander you have in the garage, but even if you have a small area to refinish it may still be worth renting a large drum sander. Not only will this save you time, but a large sander will allow you to keep the floor much more even and flat giving you a professional look and a smooth floor. Make sure you start in an area that is inconspicuous to get the feel of the sander and always keep it moving. Sand with the grain of the wood and start with a relatively low grit sand paper like 20 or 60 grit. Only remove as much material from the surface as you need to remove any imperfections or old top coatings. Once you’ve got the imperfections removed you can step up the grit until you can use a 100 or 120 grit. This will remove the scratches and leave the surface feeling and looking smooth. Make sure you vacuum in between sanding with different grits to remove the dust as it can change the way sand paper cuts the surface.
When it comes to staining or covering your newly sanded floors make sure you vacuum everything extremely well and remove any excess dust using a tack cloth. Once you’re sure your floor is dust free, start the staining from one end of the room and move uniformly across using brush strokes with the grain. Make sure you follow the stain’s or polyurethane’s manufacturer’s instructions so that you get the color and gloss you expect. After that all you have to do is allow the top coat to dry as the manufacturer recommends!
If you start you refinishing project you may find out your floors are actually not able to be refinished. If the boards are already too thin or you find significant water damage or buckling you may unfortunately have to replace your floors instead of refinishing them. When this happens to you, give Style Timber Floor a call and ask about our hardwood installation service. We can help you at any step in your flooring project and can make sure you get back to loving your house soon. For more information, visit our website to learn more about hardwood flooring installation services.
Call Style Timber Floor for special consultation & design.
Showrooms
8/19 Chifley St,
Smithfield, NSW 2164 Australia
P:(02) 8021 4471
Shop 4,79-83 Longueville Rd,
Lane Cove, NSW 2066 Australia
P:(02) 8937 4396
oak wooden flooring, oak hardwood flooring, wood flooring oak, oak wood flooring, oak wood floor, oak wood floors, wood floor oak, wood oak flooring, oak hardwood floors, hardwood oak, hardwood flooring oak, oak hardwood, hardwood oak flooring, oak wooden floor, oak wooden floors, bamboo flooring, timber flooring, laminate flooring, vinyl flooring, floating floor, floor boards, timber flooring sydney, floating floors, hardwood flooring, timber floor, sydney flooring, parquetry flooring, spotted gum flooring, floating timber floors, engineered timber flooring, timber floors, floating floor boards, flooring options, laminate flooring sydney, flooring sydney, bamboo flooring sydney, wooden flooring, oak flooring, solid timber flooring, wood flooring, vinyl flooring sydney, bamboo floor, vinyl floor, laminate floor, timber laminate flooring, timber flooring cost, engineered flooring, floating flooring, timber floors sydney, laminated flooring, wooden floor, floor tile, bamboo floors, parquet flooring, wooden floors, vinyl flooring prices, laminate timber flooring, wood floor, laminate floors, cheap vinyl flooring, parador flooring, commercial vinyl flooring, commercial flooring, quick step laminate, bamboo floating floor, hardwood flooring sydney, floor tiling, engineered oak flooring, french oak flooring, hardwood floor, oak floorboards, vinyl timber flooring, laminated floor, wood floors, laminate wood flooring, vinyl floors, floor laminate, oak floor,


